


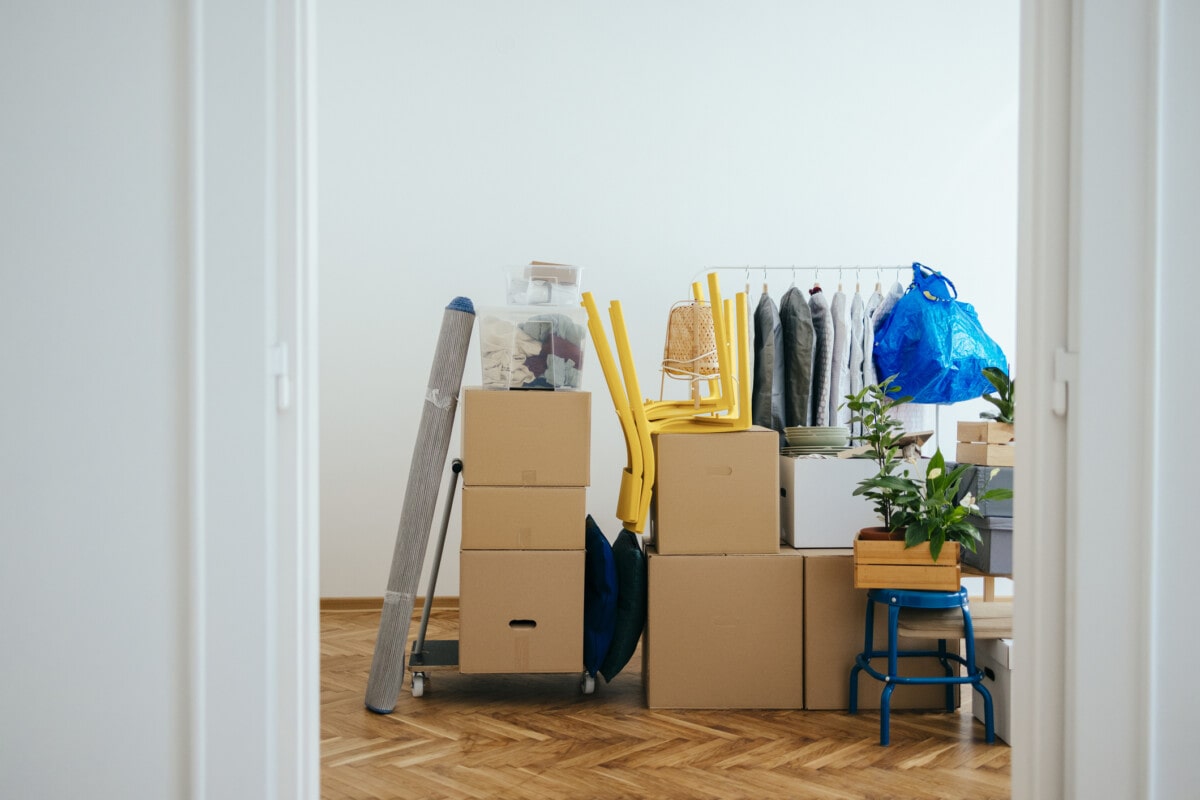
Getting your tenants settled in your property takes more than signing a lease and deciding on a move-in date. One key element that doesn’t require much paperwork is: Property Walkthrough.
Ideally, before a tenant moves out and again afterwards is a good time for everyone – landlord and tenant alike – to check the condition of the property.
It’s important to check everything, so having a rental property walk-through checklist can be very helpful. Don’t expect your tenants to bring you a checklist, but as a landlord, prepare your own to protect yourself and your property.
When to tour rental properties with tenants
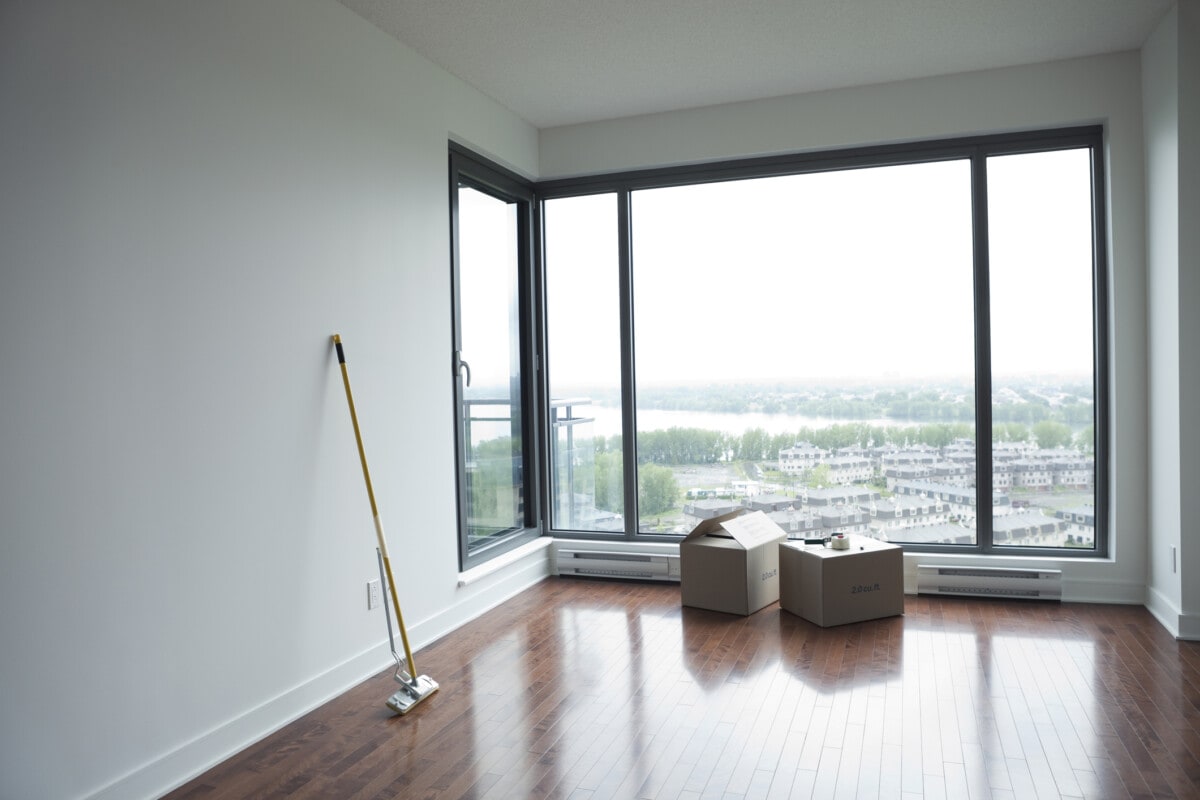
There are two times when you should conduct a walkthrough of your property: right before a new tenant moves in and right after they move out. Keeping both inspections in the same rental walkthrough checklist will give you an accurate idea of how well your tenants maintained the property.
A pre-occupancy walk-through helps you understand the initial condition of the home — note any damage already present — and then see if things have deteriorated beyond normal wear and tear after the tenants move out.
Keeping the results of each walkthrough on the same checklist will help you notice these changes: if a bedroom door frame was like new before the tenant moved in but was badly damaged after they moved out, you’ll know you can charge the tenant for the repairs.
Luckily, with a deposit from your tenant, it’s easy to manage paying off repairs without waiting for funds.
How to do a walk-through of a rental property
A viewing of the rental property should be done together with the tenant. This is an opportunity for both you and the tenant to protect yourself from paying for damages that you are not responsible for. The tenant should: Already existing problems You believe that home repairs should be covered by the deposit, and you don’t want the cost of those repairs to be challenged.
Once you have scheduled a date with the tenant, prepare the landlord’s own walk-through checklist. The tenant may also have a checklist, but let the tenant know that a copy signed by both parties will be kept on file.

6 Steps to a Rental Property Walk-Through Checklist
As you walk around and observe, take notes, photos, and videos to document any unusual conditions in the home. Be sure to write down what you see, as well as what the tenant notices. It’s best to compile all the information in a checklist so everything is in one place. Photos will provide additional evidence if you need it later. Following these steps will ensure you complete a thorough walkthrough.
1. Inspect specific items in each room
No matter what room you’re renting, there are a few areas you should definitely inspect, most of which will be damaged through normal wear and tear, so take that into consideration.
It’s okay to make a note of small, common defects, but only take detailed notes if there are major issues – for example, if the previous tenant hung a heavy mirror and put a large hole in the wall, make sure you make a note of that (and take the time to fix it).
In general, you should check the following in each room:
- floor
- wall
- Sealing
- door
- Windows, screens, window frames
- lighting equipment
- Outlets and switches
- light bulb
Make a note of anything that can be repaired or replaced immediately and, if possible, offer to address it before the tenant moves in. Once it’s addressed, go back to your rental property walk-through checklist and check it off as an issue.
2. Check for safety
In the relevant rooms, you should also check the safety equipment in your rental property – that is, test the smoke detectors and ensure that the fire extinguishers are not expired. This is especially important for tenants, as having all safety equipment in good working order has a direct impact on you and your belongings.
3. Test the plumbing
In your bathroom and kitchen, check for leaks or water damage, and test all taps and toilets to make sure they’re all working. Inspect the bathtub and sink for any major cracks or chips.
If your rental property has an outside hose connection, it’s a good idea to check that, too. Test taps with or without the hose to make sure they work and aren’t leaking.
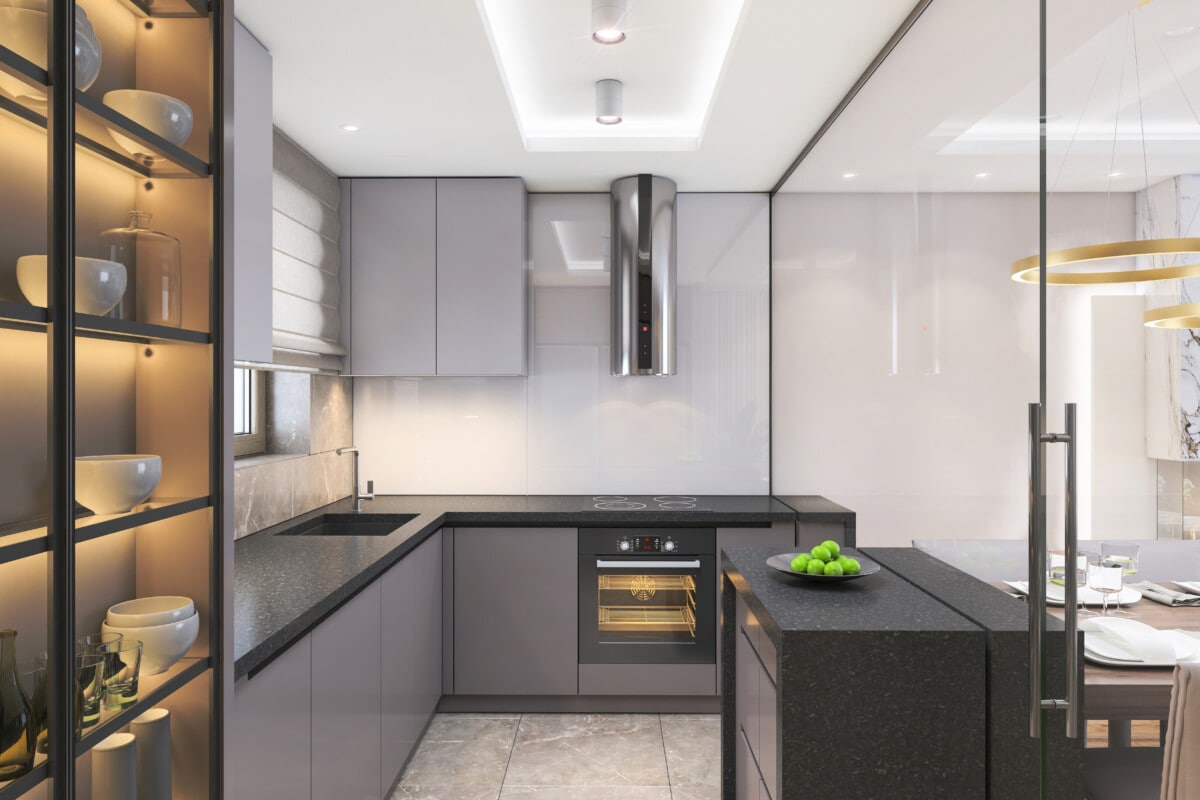
4. Turning electrical appliances on and off
While you’re in the kitchen, test all the appliances with the tenant present. Turn everything on and show them that they actually work, not just how they work. This includes the stove, oven, microwave (if you have one), dishwasher, refrigerator, washer, and dryer.
5. Open cabinets and drawers
Wear and tear can occur anywhere, so open and close all your cabinets and drawers and inspect them. Make sure pulls and handles are securely attached and hinges are working properly. Everything should close tightly and not look like it’s coming loose.
As you open all of these, also make sure that the drawers, cabinets, and closets are empty. Remove anything you find, but you don’t need to write it on a checklist.
6. Take note of the property’s unique features
If the rental property has special features like stairs, a backyard, a garage, a deck, or a balcony, make sure you include those as part of your walk-through. Note any issues you find in those areas and make sure everything is good and safe.
Thorough rental property viewing
A thorough walk-through of the property before you move in and after you move out will ensure you notice everything, but it may not be the only time you need to walk through the property. Don’t take moving outs during your tenancy lightly. Home Inspection If a tenant suspects there is a problem, they can make repairs as necessary without waiting until the end of the lease.
No matter how many times you have to use our handy rental property walk-through checklist, careful attention to detail will help you maintain your property – and it will also make it easier to properly charge for repairs.


